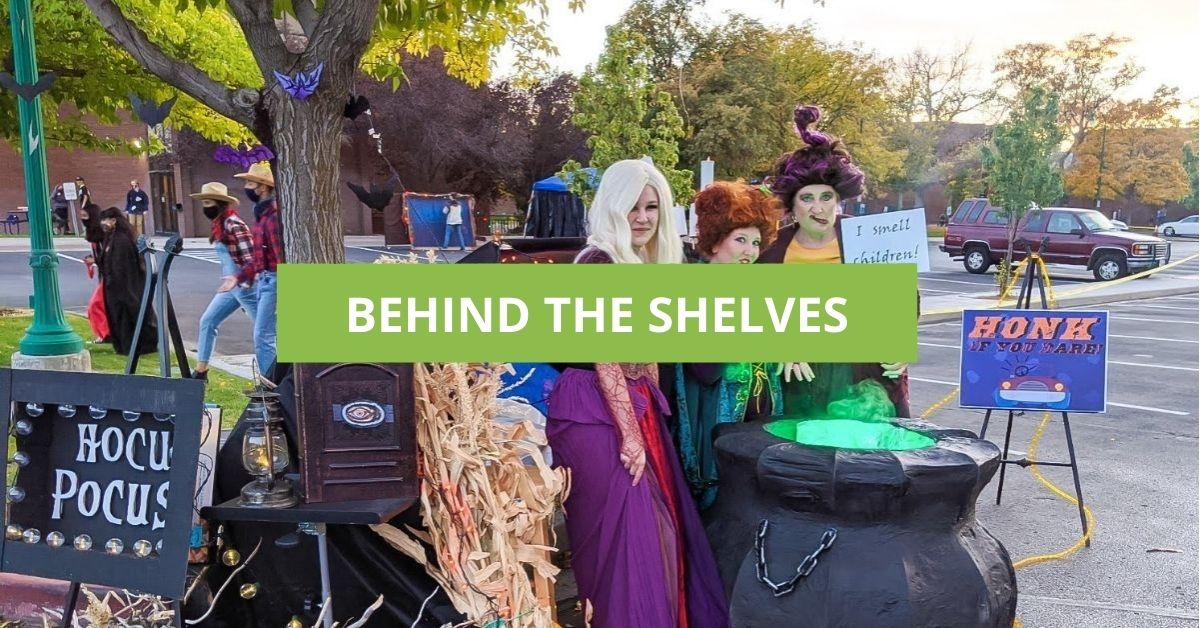
Last month, our Parking Lot of Terror was attended by over 1,200 patrons. In their cars, brave patrons drove through our Peanuts Pumpkin Patch, past the Sanderson Sisters and their diy cauldron, were attacked by mummies, ghosts, bats, and zombies, traveled through the Upside-Down and into a monster’s mouth, and barely escaped with their lives—plus some candy and Halloween books!
But long before this night of haunting and fun, a project was born. A project of such scope and scale that it took on a life of its own. That project was… the Cauldron.
Rumor grew of a shadow in the Library Makerspace, whispers of a nameless fear, and the Cauldron perceived it was time for its full story to be told!
We will now turn the blog post over to Matt, Makerspace Magician and the Lord of the diy Cauldron.
So first I thought I would have it all done in a few hours… I thought I could just cut a few strips of cardboard and frame & tape a support around that. But that just collapsed into a pile on the ground.
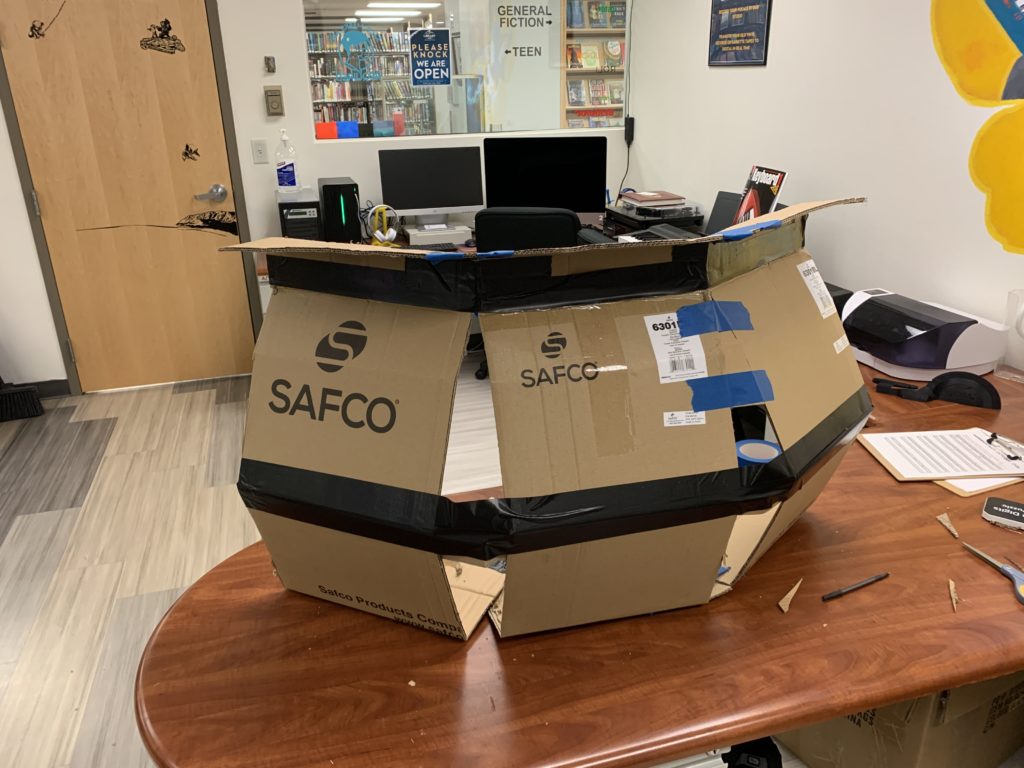
So then I turned to Pinterest where people made a cardboard frame around a bucket or trash can. We didn’t have any big enough, so I stole a round table from Gen Ref. I cut out several frame pieces to make the shape.
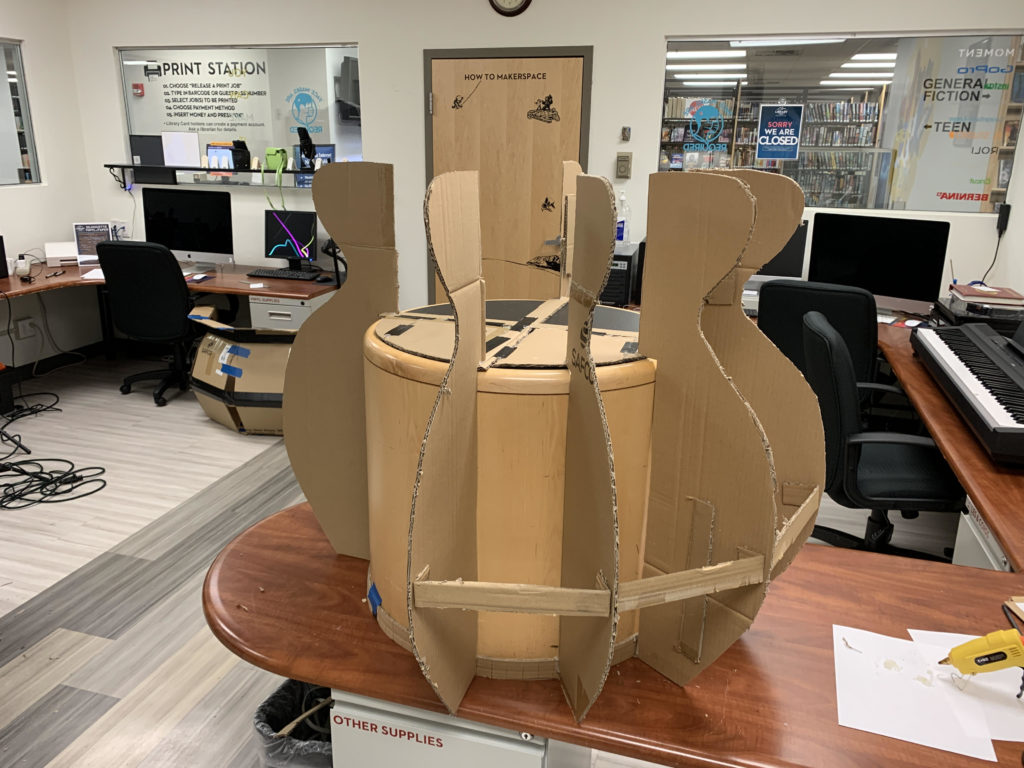
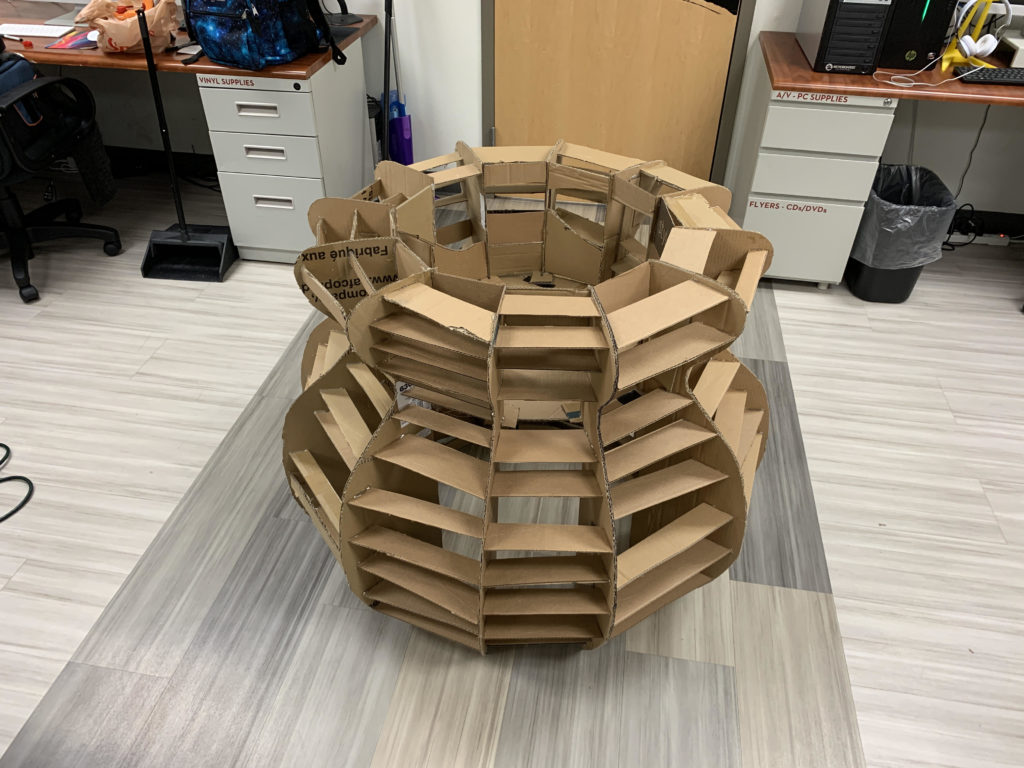
Then I attached support pieces in between so that it’s strong enough to be moved around.
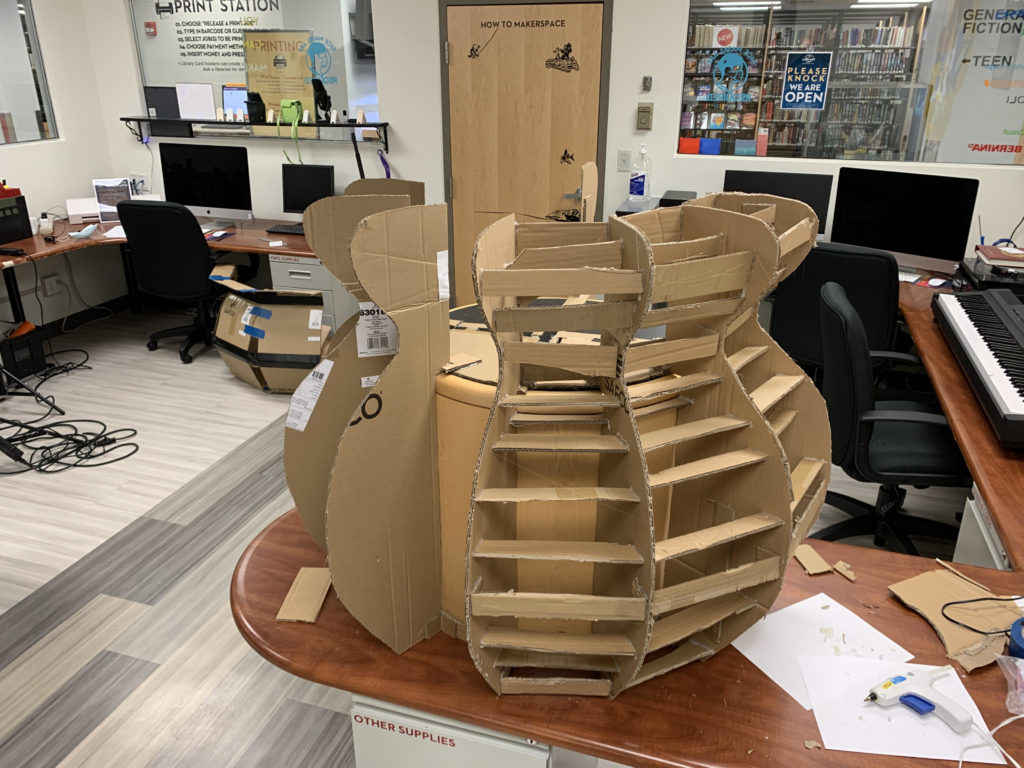
And now it’s ready to cover!
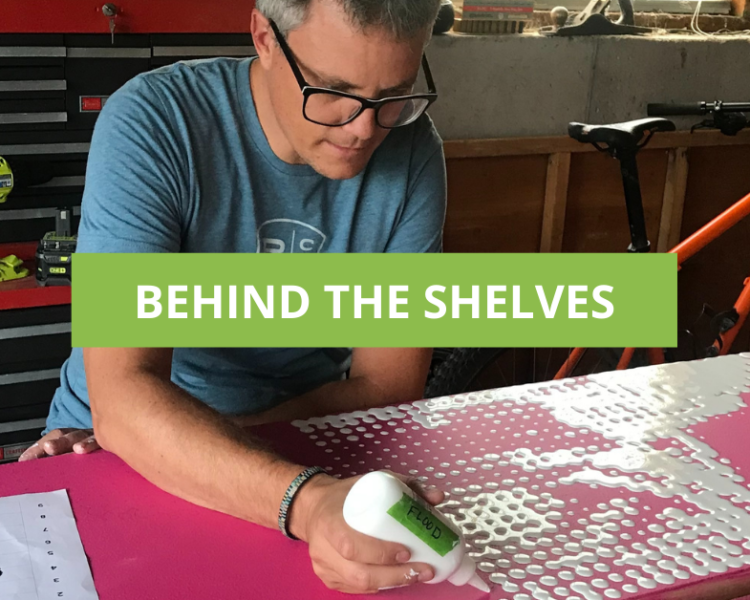
So after the cardboard frame was built, I stuck some plastic grocery bags in the spaces to fill it in and give the paper mache strips more body to rest on. I mixed one part water with one part flour and a dash of salt to prevent mold. Then I dipped the newspaper strips in the mixture and started covering the top half of the cauldron.
I did the whole top half first, laying the paper vertically.
I let that dry overnight, and then did another layer of strips horizontally over the top half. Sadly, I only had time to do one layer on the bottom half.
I let those layers dry overnight, then it was time to spray paint. I did two coats of black paint.
Lastly, I used a hot glue gun to attach some plastic chain pieces I had laying around from the Dollar Tree to make handles.
Pop a color-changing LED strip and a fog machine in the center, and we had a working cauldron!
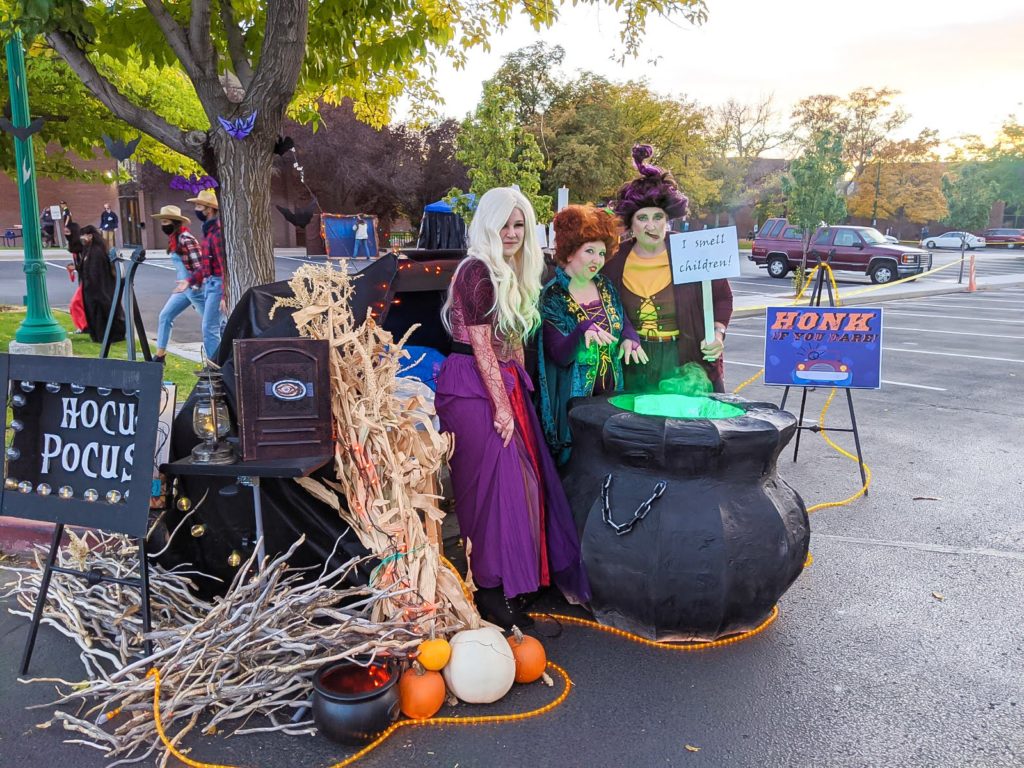
Add three witches to give it just the right effect. Hope you enjoyed this look behind the shelves!